Are you a professional carpenter or home decorator? Looking to expand your toolbox and gain greater accuracy with nailing? Using a nail gun set at an angle can give you the precision you need for intricate angles and difficult shapes. It will allow your carpentry projects to take on new life. But How To Use A Nail Gun At An Angle? Don’t despair; with this complete guide, you’ll become one of the best when using a nail gun at an angle.
Our analysis will provide you with the knowledge you need for successful projects. We’ll guide you in choosing the ideal tool and preparing everything beforehand. Making accurate calculations – saving time and effort to complete every project. So fasten your seatbelt; let’s dive in!
What Does A Nail Gun Angles Mean?
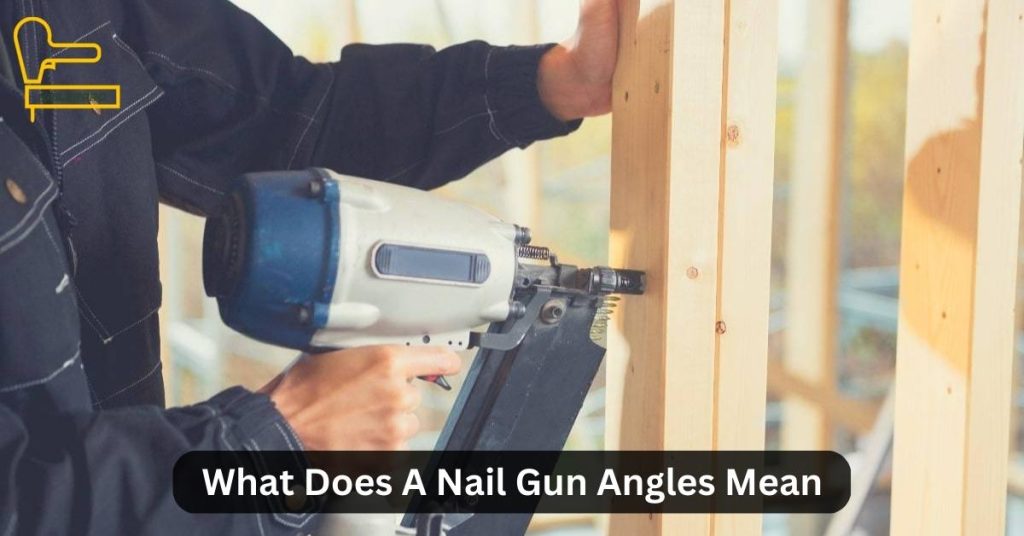
Using a nail gun at angles means setting the angle of the nailer so that it is pointing in any direction away from straight up and down. It allows you to set nails into difficult areas without adjusting your body while nailing. It also gives you greater precision when working with hard-to-reach corners or small spaces.
Why And Where To Use Nail Gun At An Angle
Using a nail gun at an angle can come in handy when working with pre-framed walls, intricate angles, or small corners. It allows you to easily set nails into difficult areas without adjusting your body while nailing. It will also give you greater accuracy and a uniform finish than hammering by hand. Additionally, using a nail gun at an angle can help you save time when working on large projects. For you don’t need to reposition the nailer for each nail.
The Steps On How To Use A Nail Gun At An Angle

Step 1: Examine The Workspace And Nailer
Before using the nail gun, examine the workspace and check for any obstacles. Also, please take a few moments to check how your nailer works, how it can adjust, and what safety features it has.
Step 2: Modifying The Nailer’s Depth
Once familiar with the nailer, it’s time to make any necessary modifications. You need to adjust the depth of your nailer based on certain considerations. These are the nail gun you are using and the material you will be nailing into. It will ensure it does not become too shallow or too deep. To learn how to change the depth, consult the nailer’s user guide.
Step 3: Calculating The Nail Gun Angle
To get an exact angle, you’ll need to do some math before you begin nailing. Take measurements and then use the Pythagorean theorem to calculate what angle should set your nail gun. Once you have your angle, make sure to double-check it before you start nailing.
Step 4: Preparing The Materials
Before you begin nailing, ensure the material and the nail gun are securely held. It will help to ensure accuracy and safety while you work. If you need to, use clamps or another device to hold the material.
Step 5: Set The Nail Gun Angle
Now it’s time to set the nail gun angle for your project. To do this, adjust the nose piece of your nailer until it is pointing at the correct angle. Make sure to double-check your angle again before you start nailing.
Step 6: Start Nailing
Once everything is in place, hold the nail gun securely and begin nailing according to your plans. Ensure the pressure is set correctly, and always use eye protection when operating a nail gun.
Step-7: Choosing The Trigger Mode
Finally, you’ll need to select the trigger mode on your nailer before you begin nailing. Depending on your project and the type of nailer you are using, you may choose between a single fire and a continuous fire. Read your nailer’s user manual to choose your project’s trigger mode.
Step 8: Insert Nails Into The Nailer.
Now that you’re all set up, it’s time to begin nailing. To do this, insert nails into the nail gun and then hold the nail gun firmly against the material you will be nailing. Pull the trigger until all your nails are set.
Step 9: Connect Your Nailer To Your Workspace’s Power Supply.
Finally, if your nailer is electric or pneumatic, you will need to connect it to a power supply for it to work. Please ensure that all electric links are rightly attached before connecting the nail gun to the power source. Once your nailer is ready to go, you can start nailing!
Step 10: Identifying The Work Area For Nailing
Before you can begin nailing, it is important to identify the work area and decide what type of nails will be used. It will help ensure that the nailer is set up correctly and that all nails are placed in the right locations. Additionally, ensure all safety precautions are taken before you begin working.
Step11: Release The Trigger Of The Nailer.
Once you have finished nailing, it is vital to keep in mind to release the nailer’s trigger. It will ensure that no further nails are shot out and help keep everyone in the area safe from accidents. Also, store your nailer properly when you are done using it.
Why Do Nail Guns Design For Different Angles?
Nail guns come in designs for use at different angles. Different materials need different types of nails. A nail with a longer shank and sharper angle would work better for nailing into hardwood than one with a shorter shank and more obtuse angle. By adjusting the nose piece of your nail gun, you can fine-tune the angle of your nail. So that it is perfect for whatever material you are working with.
Usage Area For Different Angle Degree Nail Gun
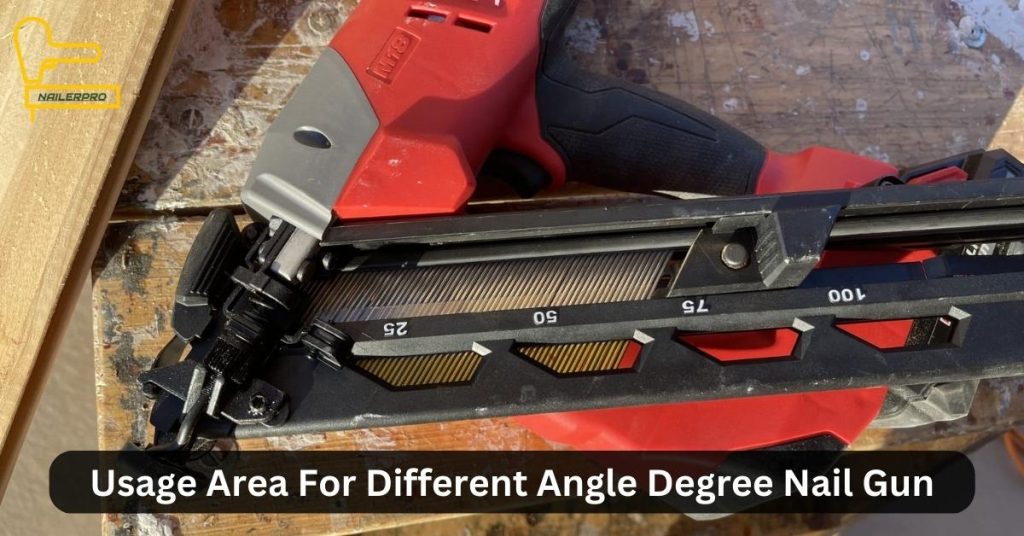
A 15-degree nail gun is a versatile tool for various applications. It is appropriate for woodworking to construction and renovation. It’s perfect for nailing into hardwoods, softwoods, particleboard, plywood, OSB boards, and more. A 15-degree nail gun features a nose piece that can adjust to provide a steeper or shallower angle. Depending on the dimensions and material type you’re working with. This versatility puts it among the most well-liked nail guns for professional contractors and DIYers.
The 30-degree nail gun is another popular option for tackling heavier-duty projects. This nail gun provides even greater accuracy when nailing into hardwoods and other dense materials. Further, the 30-degree angle lets greater penetration when nailing into thicker boards and beams. As a result, experts frequently employ it in commercial construction and repair projects.
The 45-degree nail gun is an even more powerful option for tackling the toughest jobs. This nail gun provides the greatest penetration and holding power. It is, therefore, ideal for use in severe weather. Or when working with thicker boards and beams. Additionally, the 45-degree angle allows you to reach deeper into the hardwoods. Or other dense materials without damaging the material.
You should choose the angle of your nail gun based on the size and type of material you’re working with. The 15-degree option is great for many projects. While the 30-degree and 45-degree options are better suited for heavier-duty applications. Whatever angle you choose, always wear safety goggles. And use caution when operating any nail gun. It will help ensure that your projects run safely without inflicting injury on you.
Is The Nail Size Different For Different Angle Nail Guns?
Yes, the size of the nails used in a nail gun will vary depending on what angle it is set to. Nails shot at lower angles (15-30 degrees) need shorter shanks and sharper points. While those shot at higher angles (45 degrees and up) need longer shanks and a more obtuse angle. It’s crucial to choose the proper nail size for your mission. And ensure that it fits in the magazine of your nail gun before you start nailing. Additionally, make sure you’ve taken all necessary precautions before starting.
Conclusion
If you have ever wanted to know How To Use A Nail Gun At An Angle, this is the guide for you. We have also provided a step-by-step guide on How To Use A Nail Gun At An Angle so that you can feel confident nailing away. We hope this complete guide will be helpful to you. Please note any more inquiries in the comment section below, and we’ll be happy to respond to them all.
FAQ
What Is The Best Angle For A Framing Nailer?
The type of material you are using determines the ideal frame nailer angle. Generally, 15-30 degree angles are better suited for softer materials. Such as wood and particle board. On the other hand, 45-degree angles are more suitable for harder materials like concrete. It is important to use the proper size nails for your project and ensure that they fit in the magazine of your nail gun.
What’s Better, A 21- Or 30-Degree Framing Nailer?
The 21-degree framing nailer is better for lighter applications. Such as trim work and fastening thinner boards. But for heavier operations, the 30-degree framing nailer is most suitable. Such as installing decking or attaching thicker boards. It is crucial to select the proper angle to get the best payoff. The selection depends on the type of material you’re working with and matches the size of the nail to your nail gun.
Can You Use 28-Degree Nails In A 21-Degree Nailer?
Yes, a 21-degree nailer can accommodate 28-degree nails. But, it is important to remember that the 28-degree nails will be slightly longer than the 21-degree nails. So they may not fit in the magazine of your nail gun. Additionally, using a different angle nail than intended for your nail gun may lead to poor results. It is always best to use the appropriate angle and size of nails as specified by the manufacturer.
Can You Use Straight Nails In An Angled Nailer?
No, you cannot use straight nails in an angled nailer. Straight nails need a different type of magazine and are designed to be used with a straight nail gun. Angled nailers must be loaded with the appropriate angular nails to function properly. Additionally, using the wrong nails may lead to jamming, misfiring, and other problems.