If you’re involved in construction or DIY projects. You know the value of a framing nailer. These versatile tools drive nails into wood, saving time and effort. But, regular maintenance is crucial for the driver blade to maintain its efficiency. the component responsible for powering the nails. Don’t worry, installing a framing nailer driver blade is easier than you might think. In this straightforward guide, we’ll walk you through the simple steps to ensure you Install a Framing Nailer Driver Blade. You’ll be given the skills necessary to change the driver blade and maintain the peak performance of your framing nailer. Let’s dive in and get your projects back on track!
How To Identify A Damaged Framing Nailer Driver Blade?

A framing nailer is an important tool for construction projects. But sometimes its driver blade can get damaged. Recognizing the signs of a damaged driver blade is essential to maintain the nailer’s performance. Look for visible wear like chipped or broken edges, rust, or bending. Also, pay attention to changes in the nailer’s work, such as less power or nails not going in properly. When you notice any of these symptoms. The driver blade has to be changed. By identifying a damaged blade early on. You can ensure your framing nailer works smoothly for all your future projects.
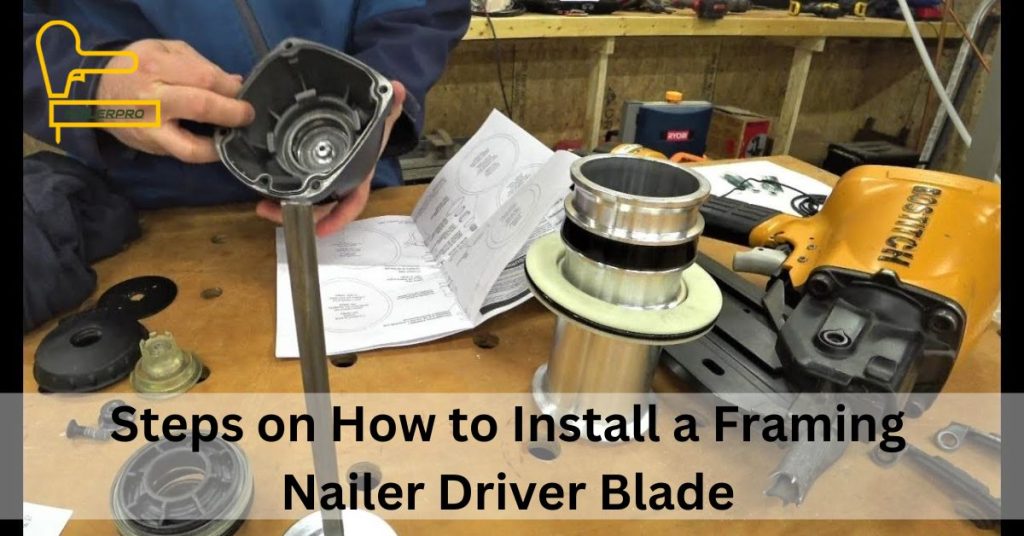
07 Steps on How to Install a Framing Nailer Driver Blade
01. Gather Your Tools And Materials
Before you start installing a framing nailer driver blade. Amass all the equipment and supplies you’ll need. These include a screwdriver or Allen wrench, safety glasses, and pliers if necessary. Ensure you have the right replacement driver blade that matches your nailer model. The installation procedure will be simpler and more uncomplicated if everything is ready in advance.
02. Disconnect The Framing Nailer From The Power Source
Before you begin any work on your framing nailer, it is crucial to disconnect it from the power source. This step is essential for your safety. If your nailer cord is, unplug it from the electrical outlet. Remove the battery or ensure it is fully powered off for cordless nailers. By disconnecting the nailer from the power source. You end the risk of accidental firing or injury during the driver blade installation process. Always focus on safety by taking this simple precautionary step. Before working on your framing nailer.
03. Remove The Magazine From The Framing Nailer
Before proceeding with the installation of a framing nailer driver blade. It is important to remove the magazine from the nailer. The magazine is the part that holds the nails and is typically located at the bottom of the nailer. Locate the release button or lever near the magazine and follow to remove it. The manufacturer’s instructions to disengage it. Once released, slide the magazine out of the nailer. Removing the magazine ensures easier access to the driver blade area. Then reduces the risk of accidental nail discharge. This preventative step will create a safe and clean workplace for the driver blade installation procedure.
04. Locate The Driver Blade
To install a framing nailer driver blade, find it in the nailer. The driver blade is the part that drives the nails into the material. It’s usually near the front or tip of the nailer, behind the muzzle or nosepiece. Look for a metal plate or assembly that moves back and forth when the nailer is in use. That moving part is the driver blade. Take a moment to identify its location and how it moves. Knowing where the driver blade is will help you install it correctly and easily.
05. Remove The Old Driver Blade
Follow these easy steps to replace the old driver blade in your framing nailer. First, ensure the nailer is disconnected from the power source and the magazine removed. Locate the old driver blade inside the nailer, usually near the front or tip. Look for retaining screws or pins holding it in place. These screws or pins should be loosened and removed using the proper instrument. Such as a screwdriver or Allen wrench. Carefully slide out the old driver blade from its position. Be gentle to avoid damaging other parts. You’re now ready to install the new one and keep your framing nailer in great condition.
06. Install The New Driver Blade
Follow these easy steps to install the new driver blade in your framing nailer. First, ensure the nailer is still disconnecting from the power source and the magazine is not attached. Take the new driver blade and align it with the slot or groove where the old blade was removed. Carefully slide the new blade into place, making sure it fits snugly. Depending on your nailer model. You may need to tighten retaining screws or pins to secure the new driver blade. Use the appropriate tool to tighten them enough. Confirm that the blade aligns and installs. With the new driver blade in place. Your framing nailer is ready to use for your upcoming projects.
07. Reassemble The Framing Nailer
To put your framing nailer back together, follow these easy steps. Ensure the nailer is disconnected from the power source and the magazine is not attached. Align the different parts, such as the magazine (if removed) and the housing. Pay attention to any specific markings or slots for proper alignment. Once aligned, securely fasten the parts according to the manufacturer’s instructions. Tighten all screws or fasteners. But tight enough. Check to make sure everything assembles once more. Now you can connect the nailer to the power source or insert the magazine. Depending on your nailer type. Your framing nailer is now ready to be used for your next project.
Maintenance and Care Tips of Framing Nailer Driver Blade
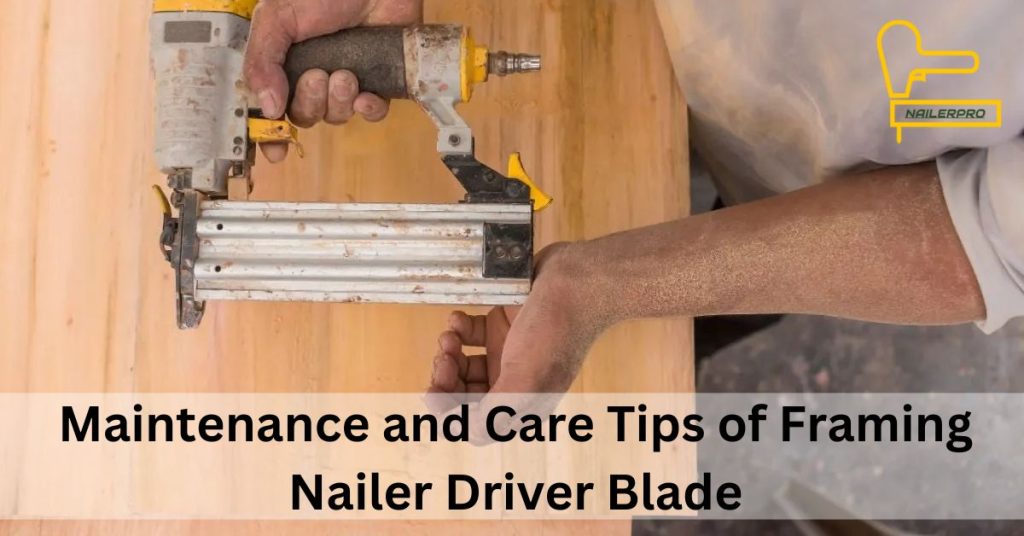
Proper maintenance and care of your framing nailer driver blade. Here are some easy tips to keep in mind:
Regular Cleaning
After each use, clean the driver blade to remove any debris or residue that may accumulate. Use a brush or compressed air to clear out dust and dirt.
Lubrication
Apply a small amount of lubricating oil to the driver blade regularly. This helps reduce friction and keeps the blade operating smoothly.
Inspection
Periodically inspect the driver blade for any wear, damage, or dullness. Replace the blade if you notice any significant issues to ensure safe and efficient operation.
Proper Storage
Store your framing nailer in a clean and dry place when not in use. Protect it from extreme temperatures, moisture, and dust.
Follow the Manufacturer’s Guidelines
Always refer to the manufacturer’s guidelines for specific maintenance instructions and recommendations.
By following these maintenance and care tips. You can extend and maintain the lifespan of your framing nailer driver blade. Its reliable performance for many projects to come.
Final Thought
Installing a framing nailer driver blade is a simple task that ensures your tool works. Installing a framing nailer driver blade is easy. Get your tools, disconnect the nailer, remove the old blade, put in the new one, and reassemble the nailer. Keep it clean, lubricated, and store it properly for good performance. Enjoy using your framing nailer for construction projects. It’s simple and convenient.